Utility Installation Changes: Why Proper Documentation Prevents Fines and Hidden Challenges

A utility plan can look clean on paper and still run into trouble the moment a crew opens the ground. Soil conditions change. Existing lines are not where records said they would be. A required clearance gets tighter than expected. A storm drain, gas line, communications duct, or water main can force a field adjustment that no one planned for during design.
These changes are normal in utility installation. The risk is not the change itself. The risk is failing to record what changed, where it changed, and why it changed.
Proper documentation protects the project owner, contractor, designer, and future maintenance crews. It also helps prove that correct spacing was maintained between utilities, structures, easements, rights-of-way, and other required features. Without that record, a small field decision can become a costly problem later.
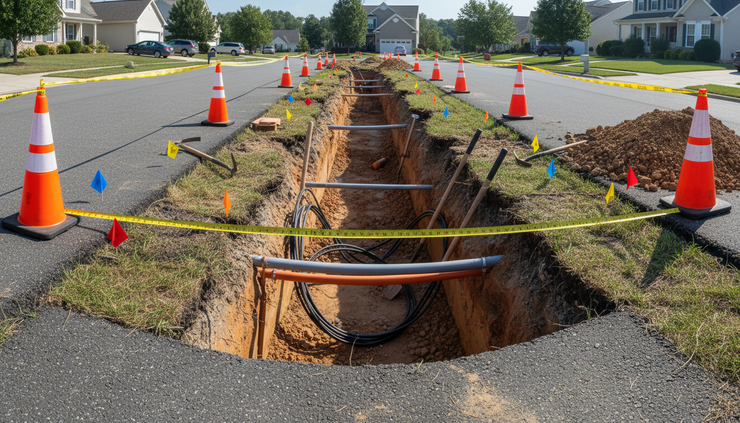
Utility installations rarely follow the first plan exactly
Utility plans are built from the best available information. That may include surveys, utility records, site walks, permits, and design standards. Even with careful planning, conditions in the field often tell a different story.
Common reasons utility installations change include:
Existing utilities that are missing from records
Lines found at a different depth or location than expected
Rock, unstable soil, groundwater, or unsuitable backfill
Conflicts with drainage structures, curbs, poles, trees, or foundations
Field access issues that affect trench alignment
Changes requested by inspectors, utility owners, or municipalities
Clearance requirements that cannot be met using the original route
Material substitutions or fitting changes caused by availability
A crew may shift a conduit a few feet to avoid an unexpected gas service. A water line may need to drop lower to pass below a storm pipe. A communications duct bank may need a wider bend radius than the drawing allowed. These are practical field decisions, and many are necessary for safety and constructability.
The problem begins when the field adjustment lives only in a conversation, a text message, or a memory.
If the final location does not match the approved drawings, the project record must show the change. That record should also explain whether the installation still meets required spacing, separation, cover, access, and clearance rules.
Correct spacing is more than a clean layout
Spacing is one of the most practical parts of utility design. It affects safety, maintenance, inspection, repair access, and legal compliance.
Correct spacing may involve horizontal distance, vertical clearance, depth of cover, separation from foundations, and setbacks from property lines or easements. Utility owners, municipalities, state agencies, and national codes may all set requirements. A project may also need to follow local standards for work in public rights-of-way.
Good spacing helps prevent:
Damage during future excavation
Cross-contamination risks between certain utility types
Unsafe proximity between electrical and gas systems
Trouble accessing valves, meters, manholes, pull boxes, or cleanouts
Conflicts with future road, sidewalk, or drainage work
Failed inspections or permit closeout delays
For example, a minor route shift may place a line too close to another utility. That might not look serious during installation, especially if the trench is open and crews can work around it. Years later, a repair crew may not have room to expose one line without damaging the other. If the record does not show the true location, the risk gets worse.
Correct spacing also matters because utility conflicts are not always visible after construction. Once pavement, landscaping, or backfill covers the work, the only reliable proof may be the documentation created during installation.
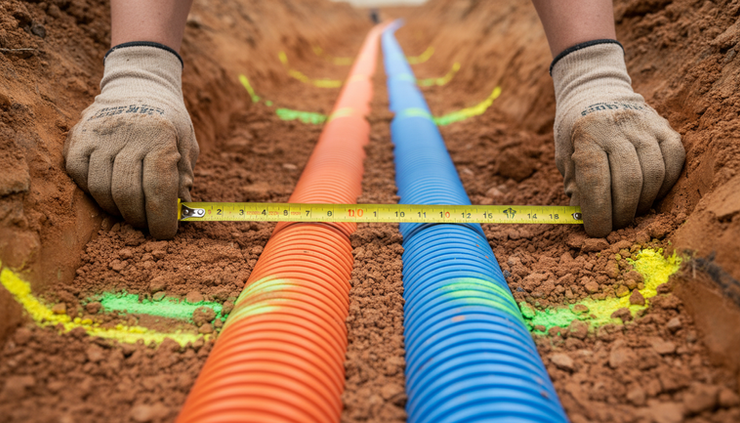
Documentation turns field changes into project records
Documentation is the bridge between the approved plan and the installed condition. It does not need to be complicated, but it does need to be accurate, timely, and easy to understand.
A strong utility change record usually answers five questions:
What changed
Describe the change clearly. For example, note that a conduit alignment shifted, a depth changed, a fitting was added, or a structure moved.
Where it changed
Include stationing, offsets, coordinates, dimensions from permanent features, or marked-up plan references. Use the project’s standard measurement method.
Why it changed
State the cause. Was there an unknown utility conflict, an inspector request, a site condition, or a design clarification?
Who approved it
Record the party that reviewed or authorized the change. This may include the owner, engineer, utility company, inspector, or authority having jurisdiction.
When it changed
Date the note, photo, sketch, or field report. Timing can matter if questions arise later.
This record becomes the basis for as-built drawings, closeout packages, permit signoffs, future locating, and maintenance planning.
In many projects, the final record will include marked-up drawings, field sketches, survey shots, photos, inspection comments, and change logs. Drafting teams then use that information to prepare clean record drawings that show what was actually installed.
Jsm Drafting & Consulting often sees the same pattern across utility projects: the best as-built records come from small notes made consistently in the field, not from trying to reconstruct every adjustment at the end.
Poor records can create fines and hidden challenges
When documentation is missing, the immediate project may still look complete. The trench is backfilled, surfaces are restored, and the utility works. That can create a false sense of safety.
The real costs often appear later.
Failed inspections and permit delays
Inspectors may request proof of depth, clearance, bedding, materials, or separation. If the trench is already closed and no record exists, the project team may need to expose the work again or provide extra verification.
In some jurisdictions, failure to follow approved plans or document field changes can lead to correction notices, permit delays, or fines. The exact penalty depends on the location, utility type, permit terms, and severity of the issue.
Costly rework
If a line was installed too close to another utility, structure, or right-of-way boundary, the owner may need to relocate it. Rework usually costs more after backfill, paving, landscaping, or building construction.
Even a small documentation gap can trigger large costs if the only way to verify the installation is to excavate.
Liability during future excavation
Accurate records help utility locators and contractors avoid damage. If a hidden utility is not documented, a future crew may strike it while digging. That can cause service outages, repair costs, safety hazards, and legal claims.
The owner or contractor may face difficult questions:
Why was the installed location different from the plan?
Who approved the change?
Was the spacing still compliant?
Were updated records submitted?
Did anyone notify future users of the site?
Without documentation, answers become harder to prove.
Lost trust between project parties
Utility projects depend on coordination. Owners, engineers, inspectors, contractors, and utility companies all need reliable information. Missing records can damage working relationships and make future approvals harder.
A clear record does not eliminate every dispute, but it gives everyone the same facts.
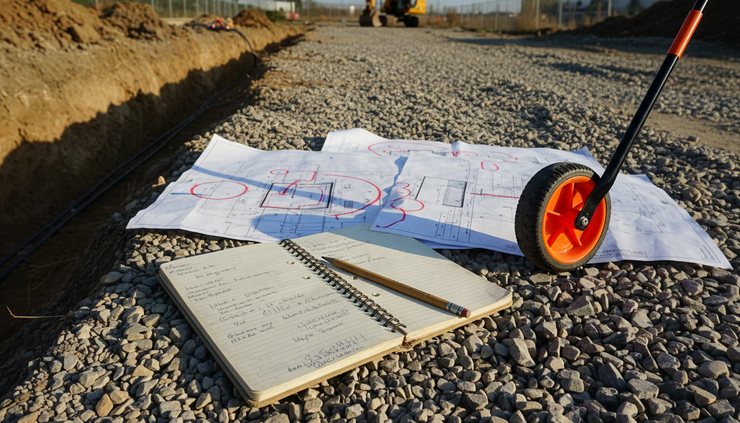
What good field documentation should include
Documentation works best when crews collect it as the work happens. Waiting until the end invites mistakes because trenches close quickly and details fade.
Use a simple system that captures the essentials.
Record type | What it should show | Why it matters |
Marked-up plan sheets | Route shifts, added fittings, changed depths, removed items | Creates a visual record for as-built drawings |
Photos | Open trench, crossing points, clearance measurements, materials | Shows conditions before burial |
Survey data | Coordinates, elevations, offsets, structure locations | Gives precise location information |
Field reports | Daily work, issues found, decisions made | Builds a timeline of events |
Approval notes | Inspector comments, owner direction, utility company signoff | Shows who accepted the change |
Material records | Pipe size, conduit type, fittings, bedding, warning tape | Confirms installed components |
Photos are especially useful, but they should not stand alone. A photo of a trench may not show the exact location unless it includes context. Pair photos with stationing, GPS data where appropriate, nearby fixed features, or plan references.
A useful photo set may include:
A wide shot that shows the work area
A close shot of the utility crossing or spacing condition
A photo of the measuring tape or grade rod in place
A picture after bedding, warning tape, or protection is installed
A final surface restoration photo
The goal is simple. A person who was not on the job should be able to understand what happened by reviewing the record.
Tips to keep utility documentation accurate
Good documentation depends on habits, not heroic effort. The following practices help reduce missed details and prevent last-minute confusion.
Set documentation rules before work starts
Before excavation begins, decide what must be recorded and who owns each task. The contractor, surveyor, inspector, design team, and project owner should agree on the process.
Define requirements for:
Photo naming and storage
Survey frequency and required points
Redline drawing standards
Approval steps for field changes
Required spacing checks
Daily reporting
Closeout document format
A short preconstruction discussion can prevent weeks of confusion later.
Use consistent measurements
Field notes lose value when they use unclear references. “Moved slightly north” is not enough. A better note gives a distance from a known point, station, property line, structure, or surveyed coordinate.
Use the same units and reference system throughout the project. In the United States, many civil plans use feet and inches, while some utility owners may require specific coordinate formats or survey standards. Match the project requirements.
Record spacing before backfill
Spacing is easiest to verify while the trench is open. Once the installation is covered, proof becomes harder and more expensive.
Measure and document:
Horizontal separation between utilities
Vertical clearance at crossings
Depth of cover
Distance from structures and property lines
Clearance around valves, boxes, hydrants, poles, and manholes
Required bedding and protection
Take photos that show the measurement clearly. Include a tape, ruler, grade rod, or other visible scale.
Keep change approvals traceable
Field decisions often happen quickly. A crew may call the inspector, send a photo to the engineer, or talk with a utility representative on-site. That can be fine, but the approval should not disappear after the conversation.
Follow up with a written note. This may be a daily report entry, email, inspection log, change order, request for information response, or signed field directive.
The record should connect the decision to the installed condition.
Update drawings while the work is fresh
Redline drawings should be updated during installation, not weeks later. If a change happens on Tuesday, mark it on Tuesday. Waiting until closeout invites missing dimensions, reversed offsets, and unclear notes.
This is where Drafting support becomes valuable. A clean record drawing can only be as accurate as the information behind it. Field notes, survey data, and redlines need to line up before final documents are issued.
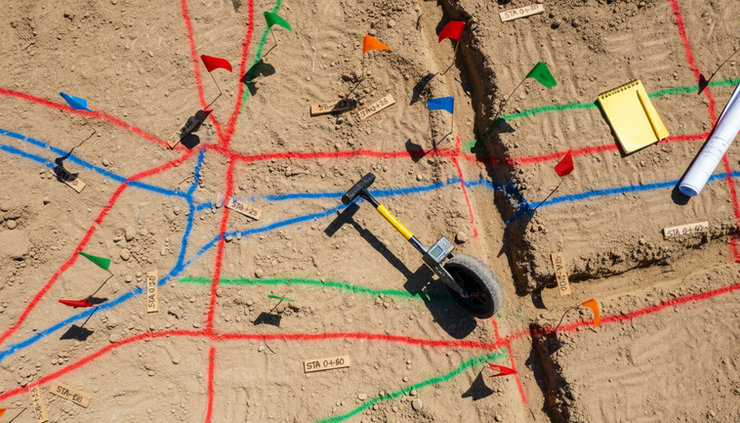
Common documentation pitfalls to avoid
Even careful teams can miss details when schedules are tight. Watch for these common problems.
Relying only on memory
A superintendent or crew lead may know exactly what happened. That does not help a future inspector, owner, or utility locator unless the information is recorded.
Memory is not a closeout document.
Taking photos without context
Photos are useful only when someone can tell where they were taken and what they show. A close-up of two pipes means little without a location, direction, measurement, and date.
Use photo logs or file names that match the project structure.
Treating minor shifts as unimportant
A small adjustment can create a major conflict. Moving a line 12 inches may affect separation requirements, future access, or easement limits.
If the installed condition differs from the plan, record it.
Waiting until the end to build as-builts
Closeout is not the time to discover that no one tracked field changes. Good as-builts are built throughout the project.
The final drawing should confirm the record, not invent it.
Ignoring inspector comments
Inspectors may require a specific correction or documentation step. If those comments stay in a notebook or text message, the closeout package may be incomplete.
Capture the comment, the response, and the final condition.
A practical documentation checklist for utility changes
Use this checklist when a utility installation changes from the approved plan.
Identify the change before continuing work, if possible.
Measure the new location, depth, clearance, and spacing.
Take photos before backfill.
Mark the change on the field plan.
Note the reason for the change.
Record who reviewed or approved it.
Collect survey points when required.
Confirm that spacing still meets applicable standards.
Update the change log or daily report.
Transfer the field record into the final as-built package.
This process does not need to slow the job down. Most steps take minutes when crews know what to capture. It saves far more time than trying to defend an undocumented installation later.
Better records lead to safer, cleaner projects
Utility installation changes are part of real construction. Plans guide the work, but field conditions often require adjustment. The key is to make sure those adjustments are measured, approved, and documented before they disappear underground.
Correct spacing protects utilities from damage, supports safe maintenance, and helps projects pass inspection. Proper records show that the installation followed the right standards, even when the final route differs from the first plan.
A good documentation habit is simple: if a utility moves, drops, rises, crosses, bends, or changes material, record it. The note made today may prevent a fine, a failed inspection, or a costly excavation years from now.



Comments